HOLIDAY PLANTS

Bring a touch of festive cheer into every room with our beautiful selection of holiday plants at Longfellow’s. From stunning Norfolk Island Pines and vibrant Holiday Cactus to colorful cyclamen and fragrant amaryllis and paperwhite bulbs, these seasonal favorites brighten your home all winter long – and are wonderful houseplants throughout the year. Whether you’re decorating for the holidays or searching for a thoughtful gift, our holiday plants add warmth, color and a little magic to the season. 

HOLIDAY CACTUS

Thanksgiving cactus are a festive favorite this time of year. Known for their pointy, serrated leaves and vibrant blooms, Thanksgiving cactus typically flower around November and come in a beautiful variety of colors, including pink, red, salmon, white, and yellow. They’re commonly mistaken for the true Christmas cactus, which features rounded leaves and usually bloom from December into January with deep pink flowers. Our Thanksgiving Cactus is available in 4″, 6″, and 8″ pots, as well as an 8″ hanging basket. In addition to our vast assortment of Thanksgiving cactus, we also grow a limited selection of true Christmas cactus! If you’re searching for a specific color or size, we’re always happy to let you know what is currently in stock.

Holiday Cactus Care Tips

-Temperature: The average home temperature is fine. Generally, holiday cactus grow best at temperatures between 60-70 degrees. A slight temperature drop in the evening can help encourage bud development and future blooms. Avoid long term exposure to temperatures below 50 degrees. 

-Light: Holiday Cactus prefer bright, indirect light. Avoid direct sunlight, which can burn the leaves. 

-Water: Water when the top layer of soil feels dry. Be careful not to overwater, as this can cause root rot. Depending on the size of your cactus, aim to allow the first few inches of soil to dry out before watering. 

-Soil & Fertilizing: Use a well-draining potting mix and fertilize about once a month, with a balanced, all-purpose fertilizer of your choice. Avoid fertilizing when the plant is in bloom. Repot every few years when the plant outgrows its pot. 

CYCLAMEN

Cyclamen bring a touch of elegance to the season with their vibrant, upright blooms and heart-shaped leaves accented by striking silver variegation. At Longfellow’s, we offer a wide selection in classic shades of red, pink, purple, and white, as well as unique varieties. Blooming throughout the winter, cyclamen are perfect for adding festive color to your home throughout the holidays. 

Cyclamen Care Tips: 

– Temperature: Cyclamen prefer cool temperatures. These plants will grow best between 50-60 degrees if possible. Warmer temperatures about 70 degrees cause the plant to go by faster or even encourage dormancy. 

-Light: Place your Cyclamen in a bright room away from direct sunlight. 

-Water: Keep your Cyclamen’s soil evenly moist. When you water, try to only water the sol, keeping the water away from the leaves and flowers. Excess water on the foliage or the crown of the plant can cause them to rot. 

-Care after flowering: Once your Cyclamen is no longer producing new flowers and the foliage begins to turn yellow – reduce watering and stop feeding. Place the pot in a cool, dark location around 50-60 degrees. Keep dry until mid-summer. Then, repot the corm using fresh soil, burying it to about half its depth. Place in a cool, well-lit spot and water as needed. The corm should begin to produce new leaves within a few weeks. Once new growth begins to form, follow Growing Tips and fertilize every other week with an all-purpose plant food of your choice. 

NORFOLK ISLAND PINE

Norfolk Island Pines make charming miniature Christmas trees during the holiday season and grow into beautiful, lush houseplants you can enjoy all year long. At Longfellow’s, we carry them in 4″, 6″, and 10″ pots—ideal sizes for apartments, cozy corners, or any space that could use a touch of evergreen cheer.

Norfolk Island Pine Care Tips: 

– Temperature: The average home temperature is typically adequate. Generally, Norfolk Island Pines ideal temperatures are on the cooler side, between 50-60 degrees. They can even tolerate temperatures as low as 40 degrees and can thrive outdoors in the Maine summers placed out of direct sunlight. 

-Light: Norfolk Island Pines prefer bright indirect light. These trees can tolerate short periods of early morning sun or late evening sun INDOORS ONLY. If placing outdoors for the summer, place under a larger tree to provide the Norfolk with shaded/dappled light, or on a covered porch to receive diffused bright light. 

-Water: Allow soil to dry down almost entirely before thoroughly watering again. Norfolk Island Pines don’t like sitting in water. If possible, use rainwater or distilled water. These evergreens do enjoy being misted frequently and thrive being near a humidifier. 

-Troubleshooting common issues:

Why are green needles falling off? This is typically a response to over-watering 

What causes the needes to yellow/brown and drop? When Norfolk Island Pines are kept too hot and dry, needles toward the bottom/inside will start to crisp and drop. 

Why are the branches on one side so much lighter in color? Too much direct sunlight can bleach the foliage on the side of the plant closest to the window. 

AMARYLLIS & PAPERWHITE BULBS

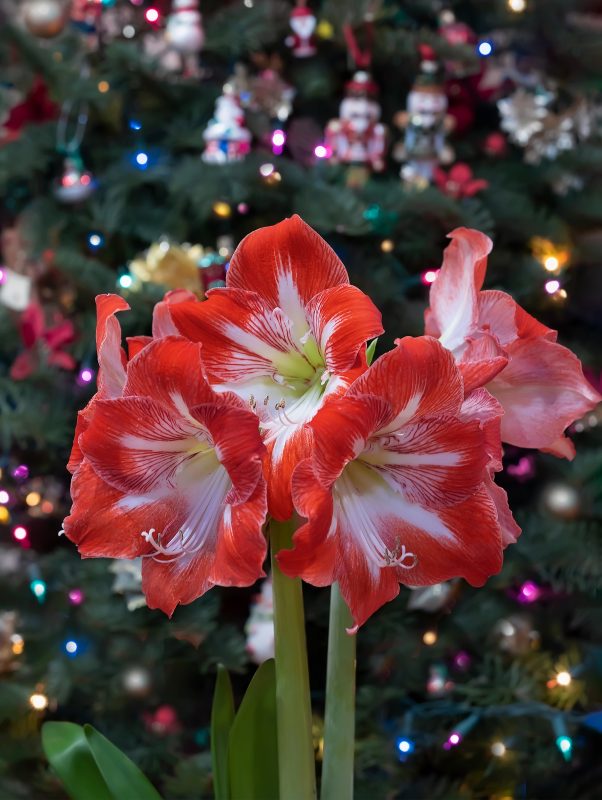
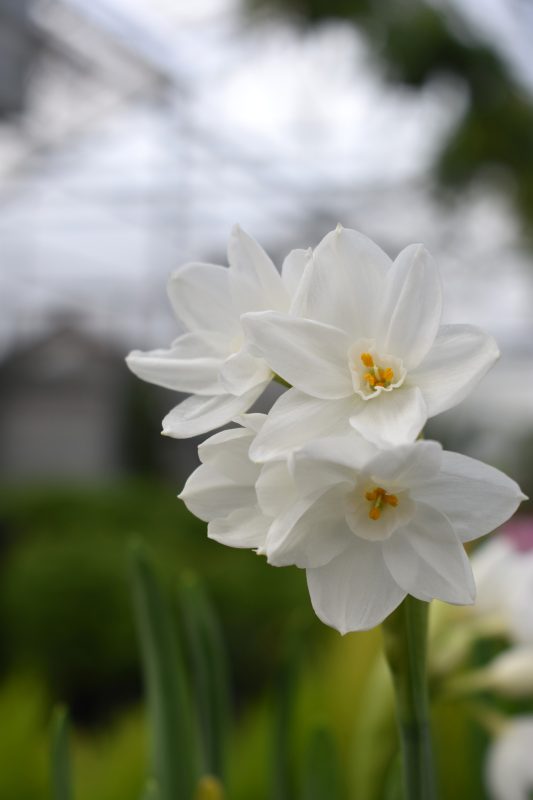
Amaryllis and Paperwhite bulbs are a wonderful way to bring fresh, effortless blooms into your holiday décor. Our amaryllis varieties come in stunning shades of red, pink, and white, while paperwhites offer clusters of delicate, snowy-white flowers. At Longfellow’s, we carry both bulbs and planting kits—perfect for gifting or for enjoying a burst of winter beauty in your own home.

Amaryllis Care Tips: 

– Potting: Place two inches of the growing medium in the bottom of the pot. Set the Amaryllis in the pot. Gently pack the soil around the bulb, leaving approximately one third of the bulb above the soil line. If already planted, then simply water as noted. 

– Watering: Water sparingly until the sprout is well out of the bulb. Then water regularly. Within 4-5 weeks your amaryllis will produce its spectacular, huge flowers. Remember to keep turning the pot regularly to make sure the stalk grows straight up, as they have a tendency to grow towards the light.

– Aftercare: When blooms fade, cut off the tubular flower stem near the top of the bulb, leaving the foliage to continue growing. Water as usual and apply water-soluble fertilizer every four weeks. After danger of frost, sink the amaryllis pot in the garden in a sunny place for the summer, continuing to fertilize. At the end of summer, place the pot on its side and allow the soil to dry off. Cut off the dry leaves, and in about six weeks repot your bulb in fresh potting soil and start the growing cycle again. 

– Notice: You can achieve optimal results by storing your bulb in about 55-degrees for 4-5 weeks. Your amaryllis bulb performs better producing more leaves and blooms. During this period, do not water the plant. As an alternative, you can water sparingly with the bulb stored at room temperature. This will also improve results.

Paperwhite Care Tips: 

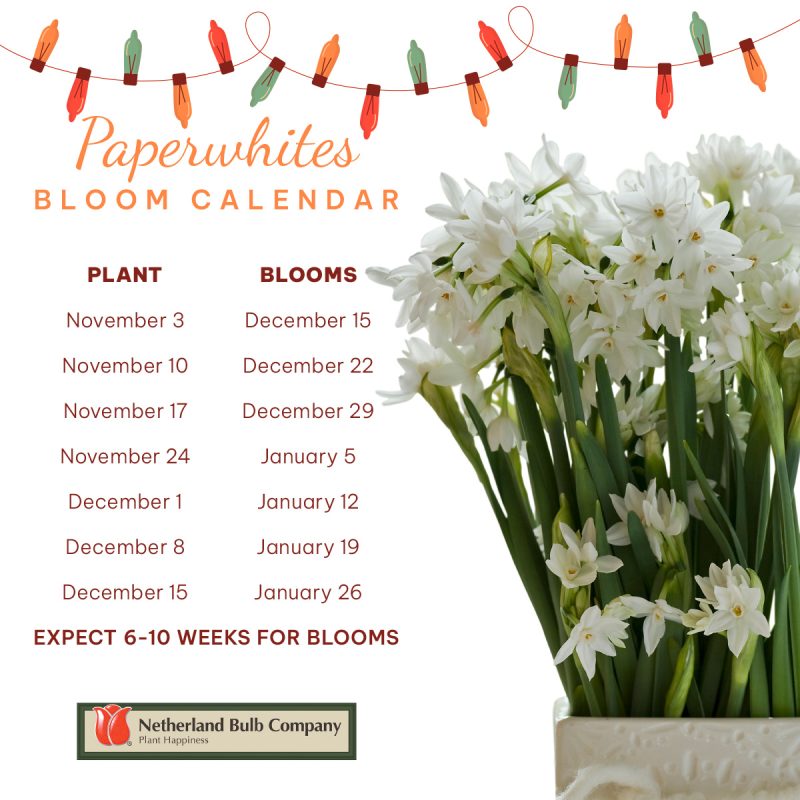
– Planting: Select a pot that is shallow, about 4-6″ deep, but wide enough to fit multiple bulbs without overcrowding. Fill the pot most of the way with an all-purpose potting mix, such as Pro-Mix. Place the bulbs with the pointed tips up, then gently pack soil around the bulbs, leaving the top pointed parts exposed. If you’d like, you can add a layer of decorative stones to the top to help weight the bulbs down for extra support. Water well after planting, then let the top few inches of soil dry out in between waterings. Paperwhites like evenly moist soil, but never soggy, so it is important to let that top layer dry out first to avoid overwatering. Place in a sunny, warm location and rotate the pot as needed to ensure even growth. Fertilize every few weeks. 

Paperwhites can also be grown in water. Fill a vase/jar about halfway with stones. Place bulbs on top with the pointed side facing up. Add a bit more stones to your jar, lightly around the base of the bulbs for added support. Fill the container with water, just below the base of the bulbs, avoid letting the water touch the bulbs if possible. Ensure the water levels stay below the bulbs, top off as needed.